Thursday, 28 August 2014

FENNEL AND CORIANDER CHICKEN CURRY


Cooking is like love, where food is a necessity cooking is an art, passion and joy of creating something delicious to please the soul. As my adventures started very early in the kitchen, thanks to Maa, my mother who allowed me entry in spite of all the mess which was an add on, cooking and baking is something that I have learnt very naturally. Like most passionate cooks my popular pass time was and still is to watch cookery shows on TV, reading recipe books and journals of different kinds taking notes, tweaking and twisting recipes and  doing my own experiments to explore taste and texture. All these traits in me is due to maa, my mentor in the kitchen, who also happened to be a very enterprising cook. 

This Fennel and Coriander Chicken Curry was thus born.


Although the origin of this recipe was a bit fade in my memories as i had cooked this for the first time in my teens if i remember rightly. However, it was quite a hit and the distinct taste of this delightfully aromatic chicken curry is still fresh in my mind. Perhaps, a doozy kitchen disaster has what made this curry a memorable one!(which i better not disclose:P)


On a more serious note this evergreen curry gets its refreshing flavor from the judicious blend of spices such as Fennel or mouri (saunf in hindi) and herb such as coriander with a hint of green chillis. This gets ready well under 30 mins ( excluding marination time)

Here is what i did:

Ingredients:

Whole Chicken cut into medium size (700-800grams)
1/2 cup yogurt(enough to cover the chicken well)
1 medium size onion, sliced
1 tablespoon garlic paste
1/2 tablespoon ginger paste
11/2 tablespoon of coriander powder
1 teaspoon of turmeric powder
11/2 teaspoon of kashmiri red chilli powder
2-3 tablespoon fennel/mouri/saunf Powder
(ideally use use 21/2 tbsp. of fennel seed made into paste to maximize the flavour - see step 4 )
Whole garam masala (2-3 green cardamom pods, 2 cloves, 1 medium stick of cinnamon)
1 and half bunch of coriander leaves with stem (roots discarded) roughly chopped
2-3 green chillies (just for flavour)
3-4 tablespoon of mustard oil or any white cooking oil
Salt to taste
Coriander leaves for garnishing.


Method:

Step 1: Marinate Chicken:
Rinse your chicken pieces, and pat dry. Add 1 tablespoon of oil (mustard or any other oil, using), salt, turmeric powder, Red chilli powder, garlic and ginger paste, and yogurt. Give your chicken a good massage to coat with the spices and yogurt. Keep aside for at least 30 mins or more if you have time. 


Step 2:

Heat oil in a wok. Add the whole garam masala, after 1 or 2 seconds add the onion slices. The flame should be on medium. Fry the onions till they change colour and start getting a brownish tint (colour). Taking care not to burn the onions just brown them slightly.


Step 3: Now goes in the chicken with the marinade. Keep sautéing the chicken moving it often with your spatula on medium - high flame, until it releases oil or fat on the side. Now lower the flame to simmer cover for a few minutes and let the chicken cook for about 4 minutes or so.


Step 4: Meanwhile, make a paste of the coriander leaves, fennel seeds (if using any),green chilli, with little water as desired for blending.

If you are using fennel powder,  we will add that later in step 5.


Step 5: Remove cover and add the coriander, green chilli paste . Add fennel powder. Mix well to coat the chicken with the spices.

Cover and cook for 4-5 minutes on low flame, making sure to retain the greenish effect from coriander leaves. Turn off heat.

Transfer into a serving bowl and garnish with more of the herb.


This versatile chicken curry can be served with  Rice, Nan, or choice of  Bread.


Enjoy!!!

Dear readers, thank you for stopping by. If you like this post  leave a feedback. For regular updates on more mouth-watering and exclusive recipes  "LIKE" my page on facebook

With deep care


EAT as you LIKE..


You may also like:


Monday, 18 August 2014

FRUIT KEBABS with HONEY CREAM

 
Make fruits fun for your little ones with these mini fruit kebab sticks with delicious Honey Cream drizzle. They will be gone in just minutes! 
 
Serve them as dessert nibbles or just for kid's birthday parties. They make a great finger food! 
 
 
All you need to do is choose your little ones favourite fruits, clean and chop and arrange them in skewers. Easy Peasy healthy snacking any time of the day!
 

For fruit skewers:
 
For 10-12 Skewers roughly:
 
10-12 whole strawberries, tip removed.
1 green apples (chores removed, cut into chunks) 
1 cup watermelon, cut into chunks 
1 cup pineapple chores removed, cut into chunks 
2 medium banana, cut into little roundels
2 kiwi fruits, peeled, cut into chunks.
10-12 bamboo skewers or toothpicks (break them in halves)
 

You may use any other fruits of your choice, grapes, pears, pawpaw (papaya), berries, melons like rock melon or honey dew melon, orange or mandarins. Always rinse your fruits clean under tap water before use. Cut fruits with minimum thickness in order to thread them into skewers.


Method:

Thread or arrange fruits on the skewers, alternating with different types of fruits , placing strawberries right on the tip. Your little bundle might like to give you a hand though.


For honey cream you will need:
 
50 ml cream (1/2 cup)
 
2-3 tablespoon of honey ( or as desired)
 
mint leaves to garnish (optional)
 
Method:
 
Mix cream and honey in a bowl  and serve with those delicious kebabs..


A healthy snack for the entire family is ready in minutes. Age no bar!


Enjoy...

Dear readers, thank you for stopping by. If you like this post  leave a feedback. For regular updates on more mouth-watering and exclusive recipes  "LIKE" my page on facebook

With deep care


EAT as you LIKE

You may also like:

 http://eatasulike.blogspot.com.au/2013/12/strawberry-santas-with-cream-cheese_22.html

Tuesday, 5 August 2014

GOBI MANCHURIAN

Gobi Manchurian is a Vegetarian  Indo Chineese dish  mostly available around India, most popular in the south.This Indo Chinese cooking style developed in Kolkata due to the presence of a small number of Chinese migrants that settled at one time. It is mostly chinese way of cooking to suit the Indian taste buds.

Basically Gobi Manchurian is crispy cauliflower fritters sautéed in soya and chilli  based sauce.You may add green capsicum as well which I did not have. There is always something missing in my kitchen!


There are two variations to the recipe, either you can have gravy or you make the dry version. Both are equally hit. The dry version is my personal favourite as you may choose to serve that as an entrée or starter or just as party nibbles. Today's recipe is the dry version of Gobi Manchurian. 


Now before we move on let me warn you that this dish requires deep frying which is certainly not a healthy affair..as an occassional indulgence you may ignore cholesterol for a day and enjoy the dish.. !! After all you are not going to eat Gobi Manchurian every day ! Make it for your cheat day lunch or dinner (wink with a LOL;)


Over to the recipe; the recipe has two parts, first dipping the cauliflower florets into a spicy flour batter then deep frying in oil. So forget cholesterol and enjoy!

Next step is to sauté those crispy fritters in a spicy sauce of onion and garlic. Let's take a look.


PART I - Cauliflower Fritters.

I have used:

Half cauliflower, florets separated washed and dried.
For Batter:

1/4 cup plain flour
3-4 tablespoon cornflour
seasoning of salt n pepper and chilli flakes
2 teaspoon light soya sauce
1 tablespoon chopped coriander leaves  
chilled water
extra plain flour in a bowl or plate for coating/dusting.
Oil for deep frying

METHOD 1:

Step 1: Heat oil in a  sauce pan/deep frying pan. When the oil stops bubbling you will know it is ready for frying. You may spoon in a lil batter, and if it floats to the top the oil is good to go... Reduce heat to medium to enable even cooking inside out.

Step 2: Make a batter with all the 5 ingredients above, excepting the extra flour that you will use for dusting. Add water judiciously so that the batter is neither too runny nor too thick.

Step 3: Fold the dry cauliflower florets in that extra flour for coating in a bowl, shake off excess flour and dip them in the batter (this will help the batter to stick to the cauliflowers)

Step 4: Drain off excess batter and gently add to the preheated oil. Fry until golden or crisp. You may follow pictures below for clear understanding of the steps.

Step 5: Fry them in batches (2 to 3 at a time) and do not overcrowd the pan. Else the temperature of the oil will fall and you may not get the desired result.

While the cauliflowers are frying lets get the sauce ready.


The result is this Crispy Golden Cauliflower Fritters. It is okay to gulp a few. Ouchhh, careful it's hot!! :P


PART II The sauce base:

For half a cauliflower I used:

3 spring onions finely chopped (a few greens set aside for garnishing)
1 medium clove of garlic finely chopped
Green Capsicum seeds removed and diced (I did not have)
chopped green chillies (if you like)
chopped coriander leaves for garnishing
1 tablespoon light soya sauce
1 tablespoon tomato chilli sauce/chinese chilli sauce.
(for kids friendly version you may use sweet chilli sauce as a variant)
lemon juice to finish (a wedge)
seasoning of pepper (black or white)


Step 1: In a skillet or a non stick pan, heat oil.

Step 2: If using green capsicum you sauté the capsicum first until they are a just a little tender but yet has the crunch. Set aside

Step 3: To the same oil add garlic, spring onion and quickly sauté  and green chilies.

Step 4: Once fragrant add all the sauces (soya and chilli) and when it boils then add the cauliflower fritters. Gently fold them in the sauce to coat evenly and season with pepper. (there is no need to add extra salt as it gets enough from the sauces been used in the recipe) 
Transfer into a serving bowl.

Step 5: Finish with a squirt of lemon juice and garnish with some coriander leaves, spring onion and serve immediately! 


Enjoy this as nibble or just as a side.


Enjoy and have a wonderful week ahead !

Dear readers, thank you for stopping by. If you like this post  leave a feedback. For regular updates on more mouth-watering and exclusive recipes  "LIKE" my page on facebook

With deep care

EAT as you LIKE..
 
You may also like:

http://eatasulike.blogspot.com.au/2014/06/char-grilled-pineapple-chicken.html


Thursday, 31 July 2014

ROASTED GARLIC, TOMATO and BEETROOT SOUP


While I work on my next post thought of sharing this hearty soup recipe with you all. It's been a long overdue and this post has been sitting in my draft folder for over a month now...  It is finally raining ice here in Adelaide and it's freezing with freaking cold wind, typical Adelaide winter, Arrgghh!!! I  mean, I like winter, but not like this kind a ..thought today is just appropriate to share this recipe..

So over to today's post. Roasted Garlic, Tomato and Beetroot Soup ... yummm!! a delight for soup lovers like me.. Kid's friendly too.


Beetroot happens to be one of my favourite winter veggies. This humble root vegetable have loads of nutritional benefits. It is known for its blood cleansing properties, and is a rich source of energy as they are full of nutrients and fibre. Rich in Iron, Calcium, Vitamin C and Manganese beetroots are a excellent source of antioxidants.


Tomatoes, another of my favourite. I can gobble a few just like that with just a little salt seasoning...yumm! This exotic vegetable too has several health benefits. Rich in Vitamin A, antioxidant Vitamin C, and Potassium and other minerals such as Iron and Calcium is excellent for cholesterol controlling and weight loosing diet -programs. In fact both beetroot and tomatoes are low calorie vegetables and can help in weight reduction..
 
 
For 4 servings of the soup you will need:
 
2-3 good size beetroot, peeled and diced
2 carrots chopped
4 tomatoes cut into halves
red onion one small - medium roughly chopped
1 bunch of coriander leaves and stems (roots discarded) roughly chopped.
using any other herb like parsley, mint or basil is fine too..
2 cloves of garlic, medium size(u may use less garlic if you like) 
chilli flakes (not recommended for adults)
400 ml chicken or vegetable stock or 2 to 3 stock cubes if using plain water
salt and pepper to season
Olive Oil/White oil for cooking
 
For garnishing:
feta cheese.
coriander leaves/or any other herb that you are using
low fat yoghurt
chilliflakes and lemon juice.
 
To serve:
 
Some crusty bread,
Mexican corn chips
or just on it's own


METHOD:

Step 1:In a baking dish place tomatoes and garlic, season with salt and pepper and slide into oven for 22-25mins

Step 2: In a pan (I used a pressure pan) heat oil and add the onions. Saute the onions add the chopped coriander leaves and stems, chilliflakes . 

Step 3: Add the chopped carrots, beetroot and sauté them on medium heat. By now your tomatoes and garlic will be ready. Carefully remove them from the oven and add them into the pan with any  leftover juices from roasting. 

Step 4:Add Chicken stock or cubes. If using stock cubes add normal water. Bring it to boil and cook until the carrots and beetroot are cooked and tender.

If using a pressure pan cook until the first whistle.

Step 5 : Turn off heat. Allow to cool and then blend the soup. Spoon into bowls.

 Garnish with some lowfat yoghurt, crumbed fetta, finish with some lemon juice and chopped coriander.

 
You may serve with some mexican nachos or crusty bread and dip or just on its own. 


Enjoy..
 
 
Thank you for stopping by. If you like this post  leave a feedback. For regular updates on more mouth-watering and exclusive recipes  "LIKE" my page on facebook

With deep care,

EAT as you LIKE..

You may also like:
 
 http://eatasulike.blogspot.com.au/2014/03/creamy-salmon-chowder.html


Monday, 28 July 2014

NIRAMISH NARKOL MANGSHO


"Niramish Narkol Mangsho" is a classic preparation from Bengal, the eastern region of India. The word "Niramish" refers to Vegetarian and "Mangsho" here means red meat that is preferably baby goat meat cooked with Narkol or 'Coconut' and finally immersed into coconut milk.

Now you must be wondering, it's a meat dish and also vegetarian at the same time. Am I kidding! Certainly not. We crazy bongs call it niramish or  vegetarian as this dish is cooked sans onion and garlic.. to be more precise no onion or garlic has been used in this recipe. But does the name really matter! To me what matters is the food and it's taste... I am a foodie, just like you ..:D


 The gravy base in this meat dish is formed from yoghurt/curd and coconut-cashew paste and then the sauce is made with coconut milk and added at the end.


Todays recipe is one of the signature recipe of my late maternal grandmother (Dida, we call in  Bengali) who was a remarkable cook. My grandma, the lady I always admired, for her strong willingness and determination. Although Ma, my mother was a silent praiser, dida and baba (my father) always appreciated my culinary attempts. No matter what. Irrespective of the look and the taste of the food cooked by me. It is hard to believe that all that love and affection is now missing in my life. This post is my tribute to her and i am so proud to share her classic recipe that I will cherish all my life.

Try this once and I promise this will leave you licking your fingers.I followed ma's (my mother's) instruction to the T. Make sure to use only baby goat for a dish like this.


All you need:

700-800 grams of baby goat
1/2 cup coconut grated
7-8 cashew nuts
3-4 tablespoon yogurt/curd
1 heaped tablespoon cumin seed  
1/2 tablespoon coriander powder
11/2" inch fresh ginger roughly chopped
1/4 tablespoon coriander powder
1/4 teaspoon of hing/asafoetida
1 teaspoon Turmeric powder
1 teaspoon Red Chilli Powder (more if you like)
2-3 Dried Red Chilli, broken into half
2-3 green cardamom pods
1 medium stick cinnamon
2-3 cloves
1 Tejpatta (bay leaf)
1 good size tomato grated (2 if using small ones)
1 can coconut milk( 400 ml)
Mustard oil for cooking and marination.
Grated coconut for garnishing

Step 1: Dry roast cumin seeds in a tawa or a skillet on medium heat. Taking care not to burn the seeds, when they turn fragrant just grind the seeds rolling them on a wooden base with a rolling pin. 

Step 2:To the blender add ginger, grated coconut, cashews, and yogurt. Make a smooth paste. If difficult to blend do add a little more yoghurt or just a little coconut milk.

Step 3: Rinse your meat pieces under very thin stream of running, lukewarm tap water. Scraping off any dirt with your fingers. Transfer them into a bowl.

Step 4: To Marinate add 2 tablespoon mustard oil and salt and nicely coat all over the meat. Add turmeric powder, chilli powder, coriander powder, ground cumin powder and the coconut cashew and ginger paste that you just made.

Marinate and set aside for a while. 1 hour at least is good to go. More the merrier.


Step 4(1): In a hot wok/pressure pan add 2 tablespoon of mustard oil, add tempering of hing (asafoetida), Dried Red Chilli, and add the marinated meat.

Step 4(2):Keep braising the meat on medium heat moving it with a ladle from the bottom of the pan upward coating the meat with the spices.Let it absorb the moisture from the marinade.

Step 4 (3) Add grated tomatoes. Cook for some more time. Cover and cook until it changes colour, and the juices from the tomatoes along with some fat is released on the sides (it wont be  a lot though,) once 
Flame should be medium.Once the meat and spices start getting a brownish hue like this :


Step 4(4) pour in the coconut milk, 
Step 4(5) bring it to boil, simmer and cover until the meat is cooked and ready to part with the bones.
You may also use a pressure cooker just as i did and cook until 2 whistles. 
Transfer into a serving bowl. Garnish with more grated coconut, and drizzle some more mustard oil for added zing.
Step 4 is shown in stages in the picture below:
Enjoy with some hot steaming rice or choice of bread. Best match is luchi or puris or paratha ... typical Bengali breads.


You may also replace the red chiilies with slit green chillies for tempering. And garnish with some more slit green chillies if you like at the end.  I have tried both and both ways this dish is outstanding in terms of flavour and taste. 


Enjoy this meaty vegetarian gourmet in a typical bong way and a have  a wonderful week a head.


Thank you for stopping by. If you like this post  leave a feedback. For regular updates on more mouth-watering and exclusive recipes  "LIKE" my page on facebook

With deep care,

EAT as you LIKE..

You may also like:


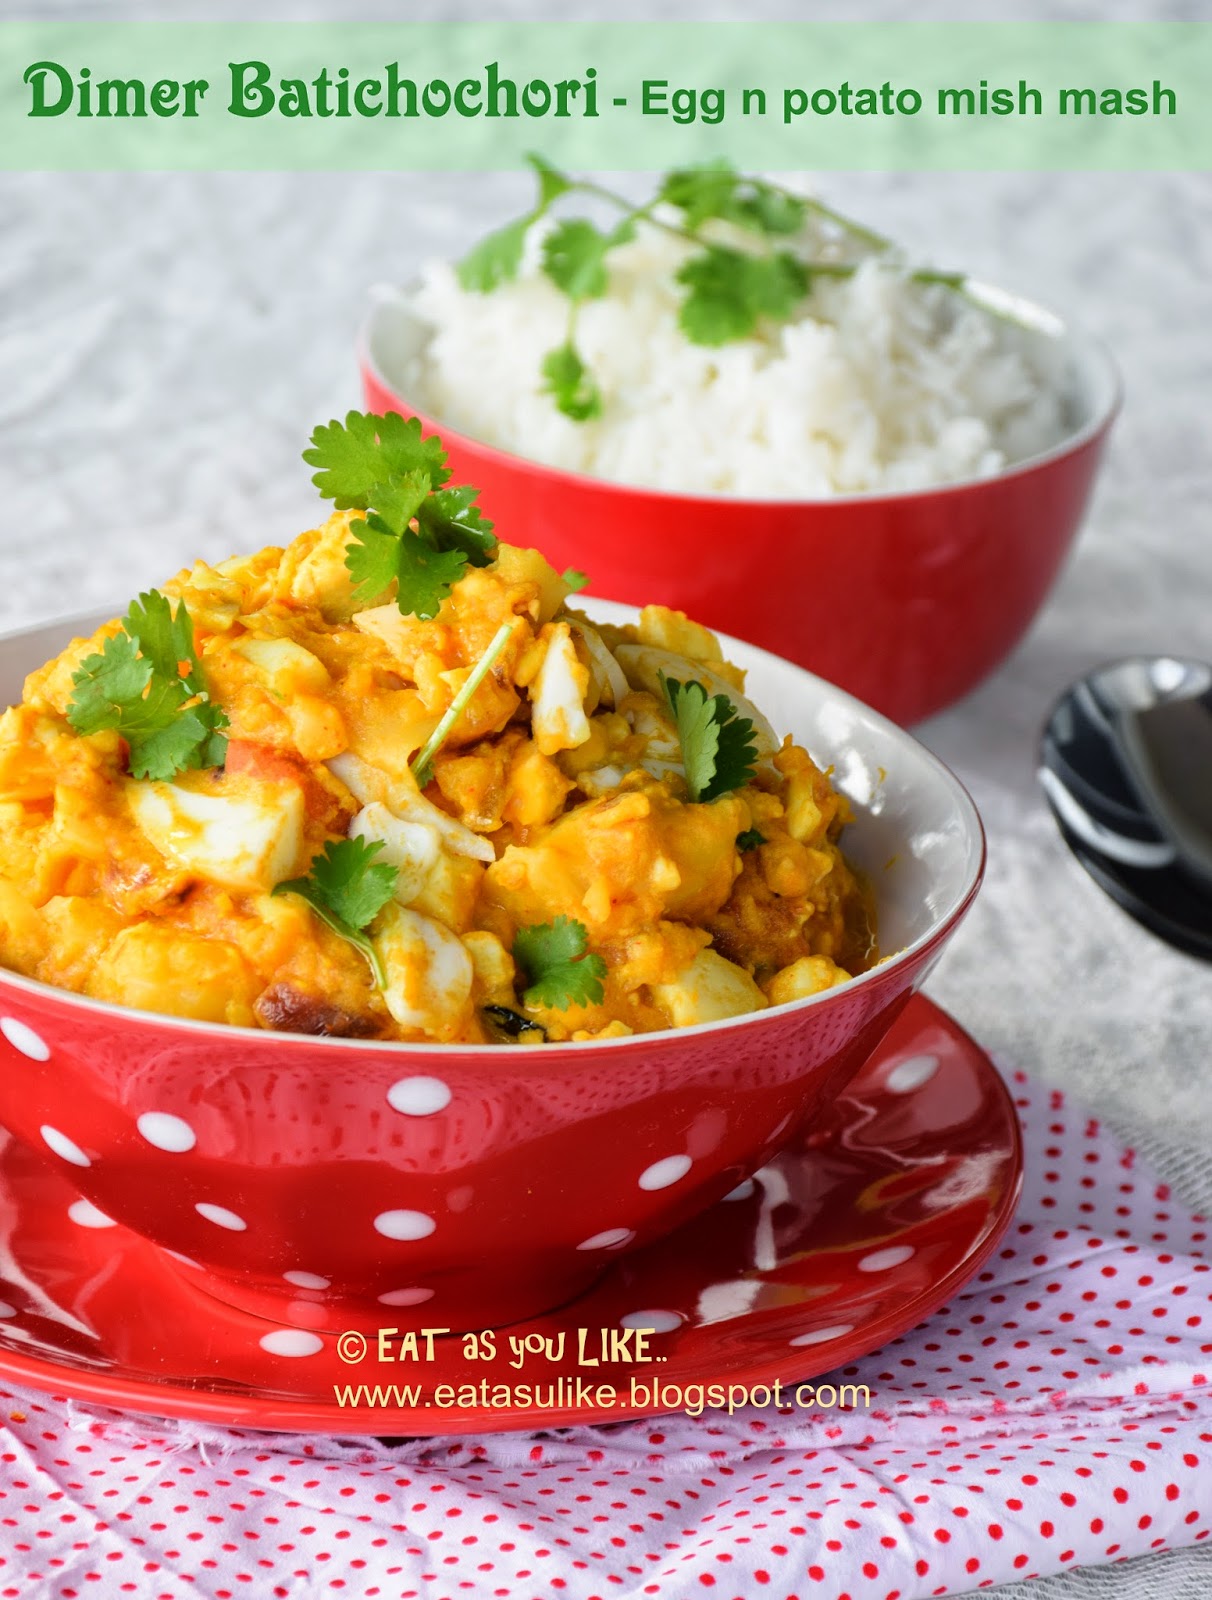
http://eatasulike.blogspot.com.au/2014/05/dimer-batichchori-egg-n-potato-mish-mash.html


:


01 10