Thursday 31 July 2014

ROASTED GARLIC, TOMATO and BEETROOT SOUP


While I work on my next post thought of sharing this hearty soup recipe with you all. It's been a long overdue and this post has been sitting in my draft folder for over a month now...  It is finally raining ice here in Adelaide and it's freezing with freaking cold wind, typical Adelaide winter, Arrgghh!!! I  mean, I like winter, but not like this kind a ..thought today is just appropriate to share this recipe..

So over to today's post. Roasted Garlic, Tomato and Beetroot Soup ... yummm!! a delight for soup lovers like me.. Kid's friendly too.


Beetroot happens to be one of my favourite winter veggies. This humble root vegetable have loads of nutritional benefits. It is known for its blood cleansing properties, and is a rich source of energy as they are full of nutrients and fibre. Rich in Iron, Calcium, Vitamin C and Manganese beetroots are a excellent source of antioxidants.


Tomatoes, another of my favourite. I can gobble a few just like that with just a little salt seasoning...yumm! This exotic vegetable too has several health benefits. Rich in Vitamin A, antioxidant Vitamin C, and Potassium and other minerals such as Iron and Calcium is excellent for cholesterol controlling and weight loosing diet -programs. In fact both beetroot and tomatoes are low calorie vegetables and can help in weight reduction..
 
 
For 4 servings of the soup you will need:
 
2-3 good size beetroot, peeled and diced
2 carrots chopped
4 tomatoes cut into halves
red onion one small - medium roughly chopped
1 bunch of coriander leaves and stems (roots discarded) roughly chopped.
using any other herb like parsley, mint or basil is fine too..
2 cloves of garlic, medium size(u may use less garlic if you like) 
chilli flakes (not recommended for adults)
400 ml chicken or vegetable stock or 2 to 3 stock cubes if using plain water
salt and pepper to season
Olive Oil/White oil for cooking
 
For garnishing:
feta cheese.
coriander leaves/or any other herb that you are using
low fat yoghurt
chilliflakes and lemon juice.
 
To serve:
 
Some crusty bread,
Mexican corn chips
or just on it's own


METHOD:

Step 1:In a baking dish place tomatoes and garlic, season with salt and pepper and slide into oven for 22-25mins

Step 2: In a pan (I used a pressure pan) heat oil and add the onions. Saute the onions add the chopped coriander leaves and stems, chilliflakes . 

Step 3: Add the chopped carrots, beetroot and sauté them on medium heat. By now your tomatoes and garlic will be ready. Carefully remove them from the oven and add them into the pan with any  leftover juices from roasting. 

Step 4:Add Chicken stock or cubes. If using stock cubes add normal water. Bring it to boil and cook until the carrots and beetroot are cooked and tender.

If using a pressure pan cook until the first whistle.

Step 5 : Turn off heat. Allow to cool and then blend the soup. Spoon into bowls.

 Garnish with some lowfat yoghurt, crumbed fetta, finish with some lemon juice and chopped coriander.

 
You may serve with some mexican nachos or crusty bread and dip or just on its own. 


Enjoy..
 
 
Thank you for stopping by. If you like this post  leave a feedback. For regular updates on more mouth-watering and exclusive recipes  "LIKE" my page on facebook

With deep care,

EAT as you LIKE..

You may also like:
 
 http://eatasulike.blogspot.com.au/2014/03/creamy-salmon-chowder.html


Monday 28 July 2014

NIRAMISH NARKOL MANGSHO


"Niramish Narkol Mangsho" is a classic preparation from Bengal, the eastern region of India. The word "Niramish" refers to Vegetarian and "Mangsho" here means red meat that is preferably baby goat meat cooked with Narkol or 'Coconut' and finally immersed into coconut milk.

Now you must be wondering, it's a meat dish and also vegetarian at the same time. Am I kidding! Certainly not. We crazy bongs call it niramish or  vegetarian as this dish is cooked sans onion and garlic.. to be more precise no onion or garlic has been used in this recipe. But does the name really matter! To me what matters is the food and it's taste... I am a foodie, just like you ..:D


 The gravy base in this meat dish is formed from yoghurt/curd and coconut-cashew paste and then the sauce is made with coconut milk and added at the end.


Todays recipe is one of the signature recipe of my late maternal grandmother (Dida, we call in  Bengali) who was a remarkable cook. My grandma, the lady I always admired, for her strong willingness and determination. Although Ma, my mother was a silent praiser, dida and baba (my father) always appreciated my culinary attempts. No matter what. Irrespective of the look and the taste of the food cooked by me. It is hard to believe that all that love and affection is now missing in my life. This post is my tribute to her and i am so proud to share her classic recipe that I will cherish all my life.

Try this once and I promise this will leave you licking your fingers.I followed ma's (my mother's) instruction to the T. Make sure to use only baby goat for a dish like this.


All you need:

700-800 grams of baby goat
1/2 cup coconut grated
7-8 cashew nuts
3-4 tablespoon yogurt/curd
1 heaped tablespoon cumin seed  
1/2 tablespoon coriander powder
11/2" inch fresh ginger roughly chopped
1/4 tablespoon coriander powder
1/4 teaspoon of hing/asafoetida
1 teaspoon Turmeric powder
1 teaspoon Red Chilli Powder (more if you like)
2-3 Dried Red Chilli, broken into half
2-3 green cardamom pods
1 medium stick cinnamon
2-3 cloves
1 Tejpatta (bay leaf)
1 good size tomato grated (2 if using small ones)
1 can coconut milk( 400 ml)
Mustard oil for cooking and marination.
Grated coconut for garnishing

Step 1: Dry roast cumin seeds in a tawa or a skillet on medium heat. Taking care not to burn the seeds, when they turn fragrant just grind the seeds rolling them on a wooden base with a rolling pin. 

Step 2:To the blender add ginger, grated coconut, cashews, and yogurt. Make a smooth paste. If difficult to blend do add a little more yoghurt or just a little coconut milk.

Step 3: Rinse your meat pieces under very thin stream of running, lukewarm tap water. Scraping off any dirt with your fingers. Transfer them into a bowl.

Step 4: To Marinate add 2 tablespoon mustard oil and salt and nicely coat all over the meat. Add turmeric powder, chilli powder, coriander powder, ground cumin powder and the coconut cashew and ginger paste that you just made.

Marinate and set aside for a while. 1 hour at least is good to go. More the merrier.


Step 4(1): In a hot wok/pressure pan add 2 tablespoon of mustard oil, add tempering of hing (asafoetida), Dried Red Chilli, and add the marinated meat.

Step 4(2):Keep braising the meat on medium heat moving it with a ladle from the bottom of the pan upward coating the meat with the spices.Let it absorb the moisture from the marinade.

Step 4 (3) Add grated tomatoes. Cook for some more time. Cover and cook until it changes colour, and the juices from the tomatoes along with some fat is released on the sides (it wont be  a lot though,) once 
Flame should be medium.Once the meat and spices start getting a brownish hue like this :


Step 4(4) pour in the coconut milk, 
Step 4(5) bring it to boil, simmer and cover until the meat is cooked and ready to part with the bones.
You may also use a pressure cooker just as i did and cook until 2 whistles. 
Transfer into a serving bowl. Garnish with more grated coconut, and drizzle some more mustard oil for added zing.
Step 4 is shown in stages in the picture below:
Enjoy with some hot steaming rice or choice of bread. Best match is luchi or puris or paratha ... typical Bengali breads.


You may also replace the red chiilies with slit green chillies for tempering. And garnish with some more slit green chillies if you like at the end.  I have tried both and both ways this dish is outstanding in terms of flavour and taste. 


Enjoy this meaty vegetarian gourmet in a typical bong way and a have  a wonderful week a head.


Thank you for stopping by. If you like this post  leave a feedback. For regular updates on more mouth-watering and exclusive recipes  "LIKE" my page on facebook

With deep care,

EAT as you LIKE..

You may also like:


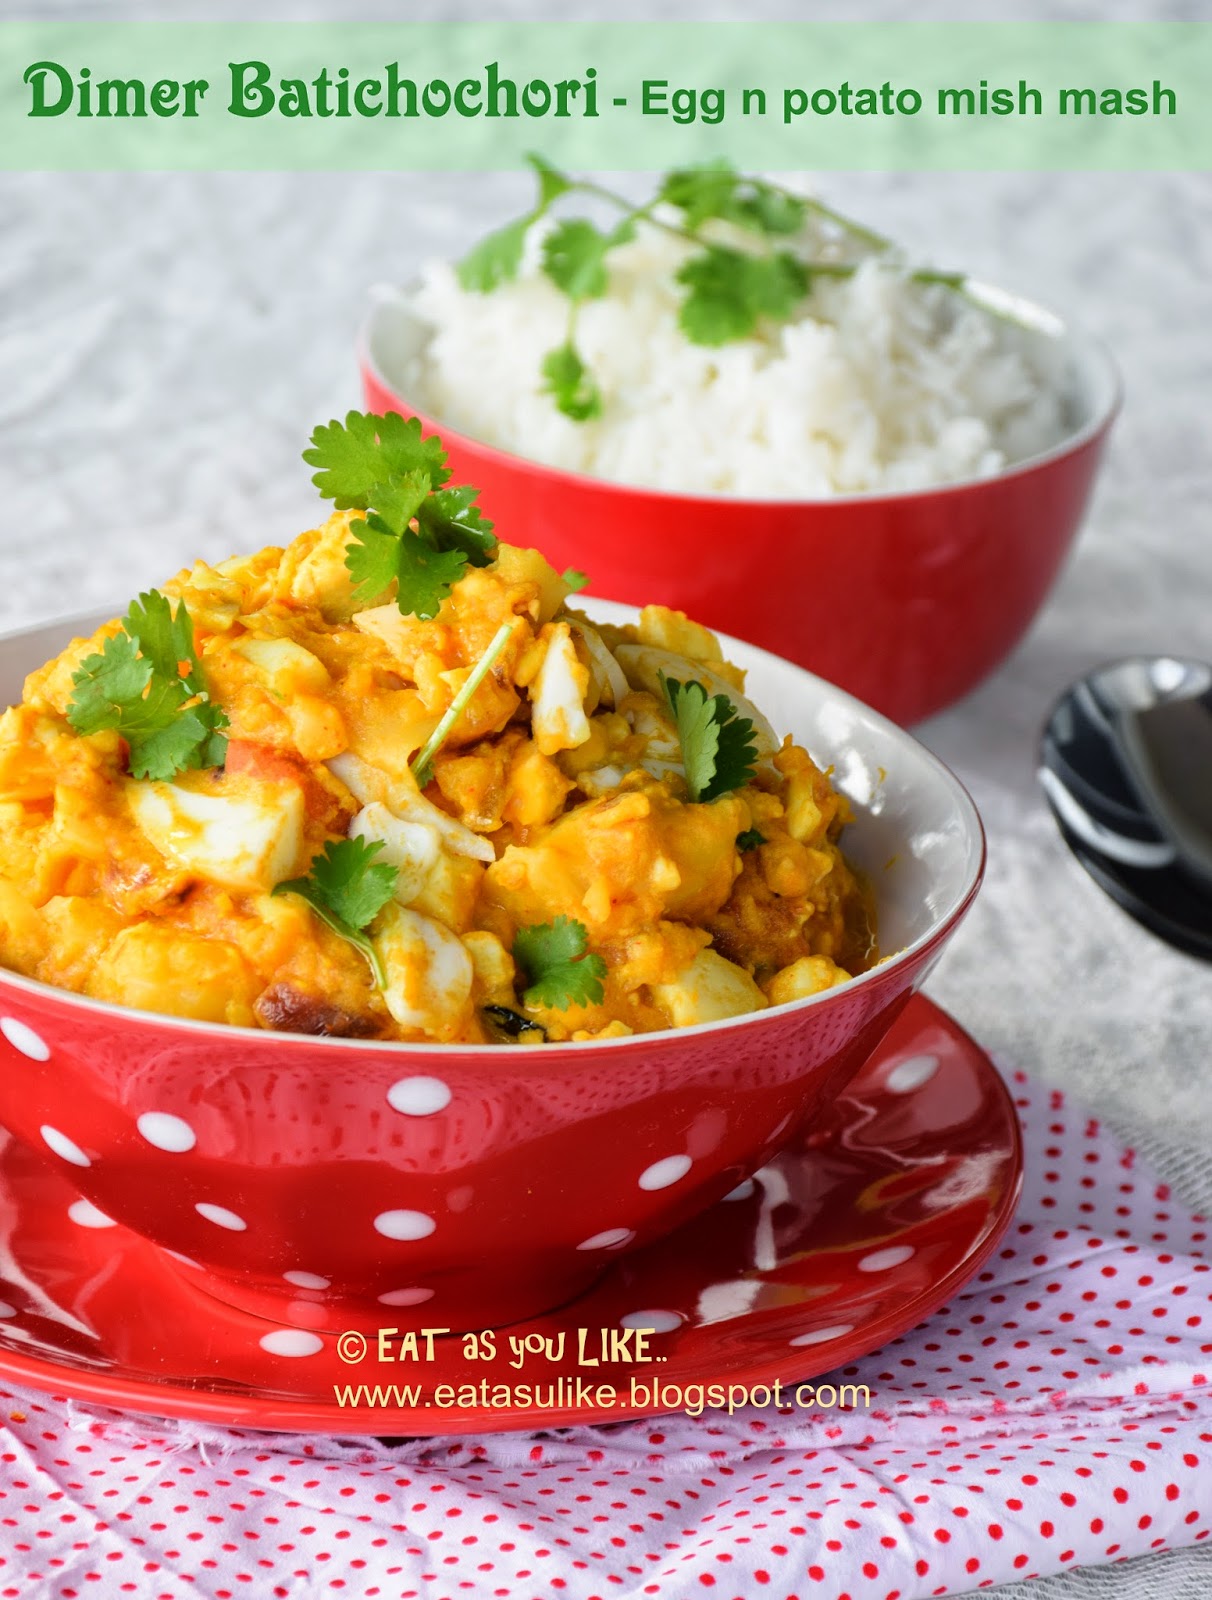
http://eatasulike.blogspot.com.au/2014/05/dimer-batichchori-egg-n-potato-mish-mash.html


:


Thursday 17 July 2014

SCRAMBLED EGG FRIED RICE


These days the kids come running to me in the kitchen, every morning. My 3 yo daughter would ask me "what are we eating for day" (read as for today) with a very concerned look on her face and hands tucked on her waist, LOL; The menu for their lunch and dinner is no longer decided by me. I only cook whatever is ordered for:). They will make sure to check out the  menu once before lunch and dinner as they only want yummy food or the big people's food as they say: D So if the menu is not to their liking they are bold enough to state what their preference is. You see, I am absolutely ok with it. Infact, every mother is privileged to cook meals that are children would relish.


Just a while ago I cooked scrambled egg fried rice for them. As I always like to try out new ideas and there is always something new cooking in my kitchen especially for the little people:) which they love and enjoy and that, is a double incentive for me to conjure a meal that is delicious and healthy everyday. 
So, the Fried Rice was a great hit and since then, it was repeated a couple of times on popular demand. My daughter stated, "Mamma, next week (read as next time, or next day) when I come back from kindy (read as preschool) you make me yummy fried rice". And then she firmly added, "If I don't see you making fried rice for me, I will be very very upset".. :~)Lol; Lots of adult role playing goes on in the house these days. Now tell me, how on earth Mummy can let that happen!:)


So, I made fried rice. Although it might look a bit elaborate with pictures and stepwise instruction, when you actually try your hands on the recipe, it is very simple. And we all know fried rice is a whole some meal in a bowl for the entire family. You may use any left over cooked rice, cooled and refrigerated overnight. But, I prefer to cook the rice on the same day, allow sometime for the rice to dry and use it in the dish. The texture of the rice is nice, fluffy and a bit sticky here in this recipe. I prefer it that way for the little ones (specially for my toddlers who are just learning to eat by themselves), as it is easy for them to scoop out with a spoon or eat using their hands. That way more food goes in, than out:), and  minimal mess for you to clean, bingo! You may use jasmine rice (for sticky texture) or use Basmati Rice or any other long grain rice for more firmer texture (suitable for grown up kids). How long you cook the rice initially will determine the final outcome of the  dish.

You will need:

2 cups of Rice
2 eggs
1 cup of veggies
(carrots, green peas, corn kernels, red capsicum)
3-4 spring onions chopped
1/2 cup of shredded ham/bacon (you may even add  boneless chicken, cut into bite size strips)
2 tablespoon hoisin sauce (or any sweet soya sauce)+ 1 tablespoon light soya sauce mixed together in a bowl


salt and pepper to season
2 tablespoon oil to cook


Step 1: Wash rice under cold running tap water, until the water runs clear.

Step 2: In a sauce pan, add some salt (1 tablespoon) and water, bring water to boil.

Step 3: Add the rice. Bring it to a rumbling boil, and once the rice is cooked almost up to 85% turn off heat. (Do not overcook the rice at this stage)

Step 4: Drain the rice. Take a large plate or tray or baking sheet and spread the rice evenly and allow to dry.


Step 5: Grease a hot wok or pan with very little oil, crack one egg in a bowl, beat well and add to the pan. Swirl the pan or wok to spread the egg and form an omelette. 

Now as the egg just starts to cook on the surface, start removing the omelette from the bottom of the pan rolling it upward as shown in the picture (pic 2). Once rolled remove from pan. Repeat with the other egg.

Please do not overcook the egg.  

Step 6: Take the veggies in a vegetable steamer and steam in microwave for 3-4 mins. Chop carrots evenly. If using corn cobs, scrape the kernels off the cobs (after steaming) with a sharp knife. It is important the veggies are cooked nice and soft to avoid choking. Finely chop red capsicum and spring onions.


For older kids you may finely chop and stir fry the veggies, skipping the steaming part.

Step 7: Wipe clean the wok used for frying the eggs with a paper towel.

Heat the wok on medium-high and add oil. It is important that the wok is nice and hot for even cooking of the individual grains of rice and vegetables.

Step 8: Add the shredded ham or bacon, stir-fry till crisp and golden, add the spring onion and red capsicum, sauté for 1 minute, now add the veggies you had finely chopped. Use  a little sauce mix (1 tablespoon to fry the veggies, as they start to sizzle, next add the rice. Season with salt and pepper. Add the remaining sauce on the side of the wok. You may reduce the heat a little to avoid burning. 

Place your spatula at the bottom of the pan under the layer of rice, scraping the rice sticking at the bottom of the pan, toss rice gently to coat with the sauce, do not press the rice with the spatula or else the rice will become mushy.

Step 9: Now add the scrambled egg strips. Toss gently and mix. Cover for 1 minute and turn off heat.


Spoon rice into your lil ones favourite bowl. Check temperature before serving. You may serve this on its own or check out recipe for  Bean curd (tofu) in Oyster sauce. to serve as a side. This incredible dish is great to go into your kids' lunch boxes.


Enjoy and have a wonderful week ahead!


Thank you for stopping by. If you like this post  leave a feedback. For regular updates on more mouth-watering and exclusive recipes  "LIKE" my page on facebook


With deep care

EAT as you LIKE..

Your lil one may also like:

http://eatasulike.blogspot.com.au/2014/04/garlic-prawn-spirals.html


01 10